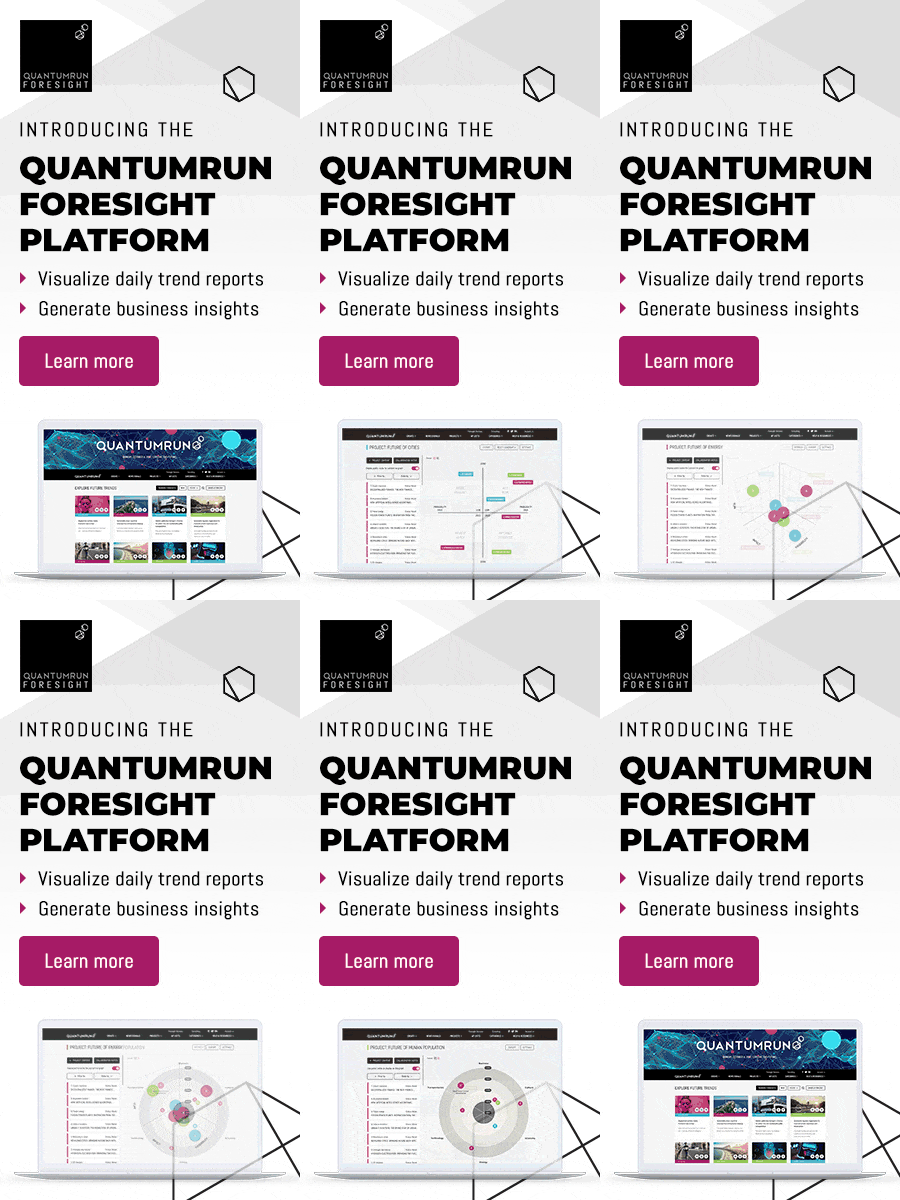
So far in 2021, we have covered numerous topics since the Quantum Foresight Platform was launched in January 2021. In February 2021, we discussed the Platform’s various content types and learned about Lists in March 2021. In May 2021, we reviewed the different features of the Strategy Planner, and in June 2021, we reviewed the Scenario Composer project’s features.
This month—August 2021—we are learning about creating and managing projects on the Quantum Foresight Platform. A Project page can help you explore and discover higher-level insights from the content you have read (and bookmarked) on the Quantumrun Foresight Platform.
A project page will help your team visualize the insights from Quantumrun’s trend articles in ways that can help your organization make better business decisions.
- To start, first, log into your premium account.
- Click on the ‘Projects’ link in the main menu or simply click here.
- You will then be directed to the project list page which will display all of the projects your account has created.
- Next, you will click on the black button in the top-right corner of the page titled “CREATE NEW.” This will open a popup box with the fields required to create a new project page. (Please ensure your browser allows popups.)
- In the ‘Project type’ dropdown, select from various types of available project interfaces.
Details regarding what each project interface can do are explained in other parts of the ‘Introducing Projects’ tutorial guide.
- In the ‘Project title’ field, enter an appropriate name for your project.
- Optional: In the ‘Project description’ field, enter an appropriate but brief description for your project.
- Optional: If you want, you can prepopulate your project with content from a List. Learn more.
- Optional: In the ‘Select who can access this project’ dropdown, you can select which members (company users ) associated with your company account can access this project.
- Once the fields above are filled out, click on the “START PROJECT” button to launch your new project!

Note that once you create your project page, you can always go back and update these fields by clicking on the “SETTINGS” button found in the top-right corner of the project page OR by clicking on the right-most icon of the project rows on the project list page (see below).

After you have created a project, your team may find itself needing to edit select administrative features of that project. Regardless of the project type you use, you can always find the “SETTINGS” button located in the top-right corner of your project page.
After you click on this “SETTINGS” button, a popup will appear that will allow you to update/edit the following project page features:
- Project title.
- Project description (this is visible on the project list page).
- Project feature image (this is visible on the project list page).
- ‘User access’ section: Here you can add/delete users from your organization to/from this project and you can change their edit/participation privileges.
- ‘External user access’ section: Here you can add or delete users from outside of your organization to/from this project and you can change their edit/participation privileges.
- You can grant access to your project to Quantumrun support staff if required.
- The ‘Lock project’ switch lets you freeze all future edits/changes to the project.
- The ‘Lock project forum’ switch lets you freeze all future edits/changes and comments to the project collaboration forum.
In the top right corner of the settings popup is a dropdown that allows your organization to:
- Export data: Allowing you to export basic information from your project page as an excel spreadsheet (this feature depends on your subscription level)
- Clone project: Allowing you to clone or create an exact duplicate of your project page (this feature depends on your subscription level)
- Delete project: This action is permanent
All project types feature the same settings interface and options.
To learn more about how to use the various Project page types once you have created them, please review the Project page training materials here.
That is going to wrap up our review of managing and creating Projects. If you want to know more about signing up for the Quantumrun Foresight Platform and its different pricing plans, speak to us at contact@quantumrun.com. One of our Foresight consultants will contact you to find out how best the Quantumrun Foresight Platform can serve the needs of your business.
You can also schedule a live demo of the platform, or test the Platform over a trial period.


